咨询电话:17350880093 咨询电话:17350880093
  手机:17350880093

— 产品中心 —
 全国免费客服电话 17350880093
 邮箱:sales@fyplc.cn
手机:17350880093
电话:17350880093
地址:福建省漳州市龙文区朝阳北路1号办公楼205室

DS3800HSQD1J1C GE 低功率序列板品牌GE加工定制否额定功率要求+5 VDC: 1.0 A (USB满载0.5 A时可达1.5 A)工作温度0至60C(32F至140F)执行速度0.072毫秒每1000布尔指令时钟精度每天最大漂移2秒实时时钟电池预计寿命5年嵌入式串行通信Rs-232 (com1) rs-485 (com2)支持的串行协议Modbus RTU Slave, SNP S
产品详情
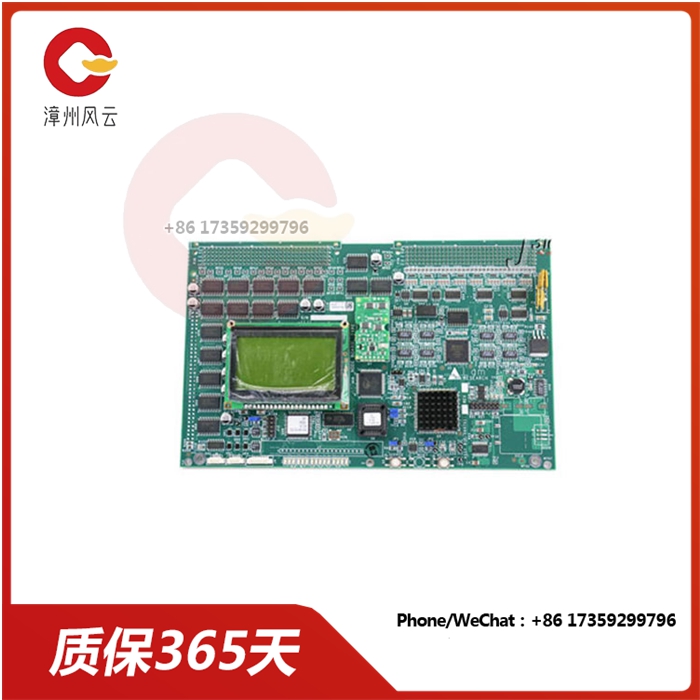
GE 低 HP 序列板DS3800HSQD1J1G设计为每个角上都有一个孔,用于插入螺钉以将板固定在驱动器中。GE 低 HP 序列板DS1HSQD3800J1G还配备了 1 个 2 针连接器和 40 个带固定杆的 1 针连接器,用于固定带状电缆。该板还装有 20 针连接器和 50 个 1 针连接器。该板还装有 20 个可擦除可编程只读存储器 (EPROM) 模块和 1 个琥珀色指示灯 LED 和 1 个红色指示灯 LED。
更换 GE 低 HP 序列板DS3800HSQD1J1G时,必须计划将多个组件从有缺陷的板移动到更换板。如果有缺陷的主板配备了子卡,则可以将其从旧主板上卸下并安装在更换板上。要将其从旧主板上卸下,请断开带状电缆与主板上的连接器的连接。一次提起 1 个角,将卡从支架中拉出。
必须从有缺陷的电路板上卸下的其他组件是EPROM模块。EPROM模块存储控制处理的指令代码和固件。为确保驱动器与安装的新板处理相同,最佳做法是在新板上使用相同的固件和编程代码。您可以通过将模块从有缺陷的电路板移动到新电路板来使用相同的代码。使用平头螺丝刀从模块插座上撬开模块。将模块按入更换板上的插槽。
The GE Low HP sequence board DS3800HSQD1J1G is designed with a hole in each corner for inserting screws to secure the board in the drive. The GE Low HP serial board DS1HSQD3800J1G also comes with 1 2-pin connector and 40 1-pin connectors with fixed rods for securing ribbon cables. The board is also equipped with 20-pin connectors and 50 1-pin connectors. The board is also equipped with 20 erasable programmable read-only memory (EPROM) modules and one amber LED and one red LED.
When replacing the GE low HP sequence board DS3800HSQD1J1G, you must plan to move multiple components from the defective board to the replacement board. If the defective motherboard is equipped with a subcard, it can be removed from the old motherboard and installed on a replacement board. To remove it from the old motherboard, disconnect the ribbon cable from the connector on the motherboard. Lift 1 corner at a time and pull the card out of the holder.
The other component that must be removed from the defective circuit board is the EPROM module. The EPROM module stores the instruction code and firmware for control processing. To ensure that the drive handles the same as the new board installed, the best practice is to use the same firmware and programming code on the new board. You can use the same code by moving the module from the defective board to the new board. Use a flat head screwdriver to pry the module away from the module socket. Press the module into the slot on the replacement board.
相关推荐

服务热线