 手机:17359299796
— 产品中心 —
 全国免费客服电话 17359299796
 邮箱:A3669372910@163.com
手机:17359299796
电话:17359299796
地址:福建省漳州市龙文区朝阳北路1号办公楼205室
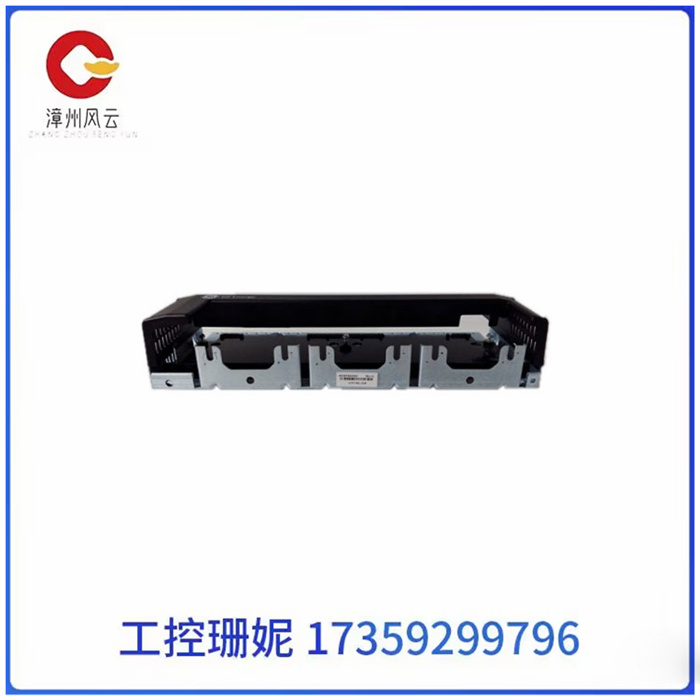
531X122PCNAHG1 GE 电源连接卡品牌GE成色全新期货现货是否定制否可售卖地全国类型Genius I / O总线型号531X122PCNAHG1531X122PCNAHG1 GE 电源连接卡产品描述GE电源连接板531X122PCNAHG1是多个原始设备电源连接板的更新部件。 有时需要将 531X122PCNAHG1 板上的组件从一个版本的电路板移除、更换或重新定位到下一个版本。如果您
产品详情
531X122PCNAHG1 GE 电源连接卡
531X122PCNAHG1 GE 电源连接卡
产品描述
GE电源连接板531X122PCNAHG1是多个原始设备电源连接板的更新部件。 有时需要将 531X122PCNAHG1 板上的组件从一个版本的电路板移除、更换或重新定位到下一个版本。如果您发现更换板上缺少跳线或连接器或其他组件,请参阅主板随附的信息以获取说明。该板在发布前经过全面测试,评估所有差异,并仔细分析解决方法。
531X122PCNAHG1 板上只有两个跳线用于配置目的,但要使用该板,必须设置跳线。跳线将电路板配置为输出驱动器所需的电压范围。在 531X122PCNAHG1 主板手册中找到您的驱动器型号,其中列出了驱动器的跳线设置。每个跳线有 7 个引脚,当您将跳线插入正确的引脚时,它会定义驱动器的电压。
更改跳线位置的过程很简单,但需要您遵循一些准则。当电路板交付给您时,它被包装在一个保护袋中,以防止静电积聚。将板子放在袋子里,最好把它放在盒子里,直到你安装它。将木板拉出,将袋子放在干净的表面上,如工作台或桌子。用手或钳子从出厂设置中取出跳线。小心地将跳线插入驱动器的引脚中。

531X122PCNAHG1 GE 电源连接卡
Product description
The GE power connector 531X122PCNAHG1 is an updated part of multiple original device power connectors. Sometimes components on the 531X122PCNAHG1 board need to be removed, replaced, or relocated from one version of the board to the next version. If you find that jumpers or connectors or other components are missing from the replacement board, refer to the information that came with the motherboard for instructions. The board is thoroughly tested before release, evaluating all differences and carefully analyzing solutions.
There are only two jumpers on the 531X122PCNAHG1 board for configuration purposes, but to use the board, the jumpers must be set. The jumper configures the board to the required voltage range for the output driver. Find your drive model in the 531X122PCNAHG1 motherboard manual, which lists the jumper Settings for the drive. Each jumper has 7 pins, and when you insert the jumper into the correct pin, it defines the voltage of the drive.
The process of changing the position of the jumper is simple, but requires you to follow some guidelines. When the board is delivered to you, it is packaged in a protective bag to prevent static buildup. Place the board in a bag, preferably in a box, until you install it. Pull the board out and place the bag on a clean surface, such as a work table or table. Use your hand or pliers to remove the jumper from the factory Settings. Carefully insert the jumper into the pin of the drive.
相关推荐